Wednesday, April 9, 2014

Chevron Decoration

Chevron Pattern Is My Favorite Thing To Decorate With

Whenever I am in Hobby Lobby I go to the clearance section to see what I can get for a dollar or less.  I love to make something fun for my home decor.

This wooden decoration was on sale for $1.00


I could make my own wood background, but the fact that it already has a ribbon attached for hanging and a stand, makes it worth the purchase.


I have no use for the letter "I", but I will save it in my craft scraps because you never know in the future what this wooden "I" might become.  


I purchased a cardboard "H" at Hobby Lobby to go along with this project.


I have some awesome Chevron Wrapping Paper that I will never use to actually wrap gifts with, because I love the pattern too much to waist it on gifts.  I have used it for all kinds of projects already and will continue to use it until the last scrap has been turned into something fun.  It is a heavy duty paper so that makes it easier to Modge Podge.


To attached the wrapping paper to my board I used a very strong spray glue.  Make sure you spray in a well ventilated area and in a box so the spray off doesn't end up getting stuck all over your work space.  


Attach the paper with extra hanging over the edge. Trim with an x acto knife.
The edges of this wood is rounded so I needed to cut inside the edge a little bit.


Spray the letter with a couple of very light coats of spray paint


I used a sharpie and a piece of cardboard to draw a very straight line along the edge of the paper so you can't tell where there were rough edges on the wrapping paper.


Modge Podge The Paper


Hot glue the letter to the board.  I also hot glued  a little bling.

Tin Mint Party Favors


Square Mint Tins

You could use Altoids, but they tend to be a little spicy for young children.  If you are making party favors for young children, I would suggest ordering tin mints from Oriental Trading Company.

This could also be an activity at a birthday party.  They are so easy to make and each girl could create their own masterpiece.

The silver stripe is made with tinfoil.

3 Tubes of Glitter Glue from The Dollar Store
Add Foam Sticker Designs and Gems For Extra Fun


Tuesday, April 8, 2014

Motivation

A Little Humor Goes a Long Way!


DIY Felt Bows

 If you add a bow to your hair, you automatically look like you made an effort.  I love them so much I made one for every color that I could possibly wear.  I also make them for graduation gifts.  If I know where the graduate is going to college, I make a few bows in the colors of the college they will be attending.

You can use regular felt, or felt with a design.  I bought the felt at Walmart.


You can use bobby pins or clips.  I personally prefer the clips.


The bows make great graduation gifts.

I bought the box from Oriental Trading Company


I love the bows so much I made on in every color of the rainbow and every style.  I added gems and pearls to the center for an added embellishment. 

 
Free Printable Felt Bow Template

Monday, April 7, 2014

Pigs In a Blanket

Baked Hotdog

Our family loves a good baked hotdog.  We buy ours in bulk at Sam's Club and keep them in the freezer so we are always ready to roast a dog over the fire, put them on the grill or, bake them in the oven.

The first thing you need to do is bring the hotdog to room temperature so the dough will stick to it.  I took frozen dogs, warmed them up in hot water then dried them off with a paper towel.  If they come out of the refrigerator, pull them out and let them warm up for 10 minutes or so.  Just enough time for them to stop sweating.

The dough around the dog can be a refrigerator dough or made from scratch.  I make my dough so often I can do it in my sleep.  It really is fast and easy once you get the hang of it.  For my dough recipe check out the page on my blog at http://fiveorlesssteps.blogspot.com/2014/03/basic-dough.html.

After you make the dough, cut it into pieces large enough to wrap around the hot dog.  For additional tasty goodness, you can add ingredients to the dough before you wrap it.  Cheese, onions, or peppers our a great addition.

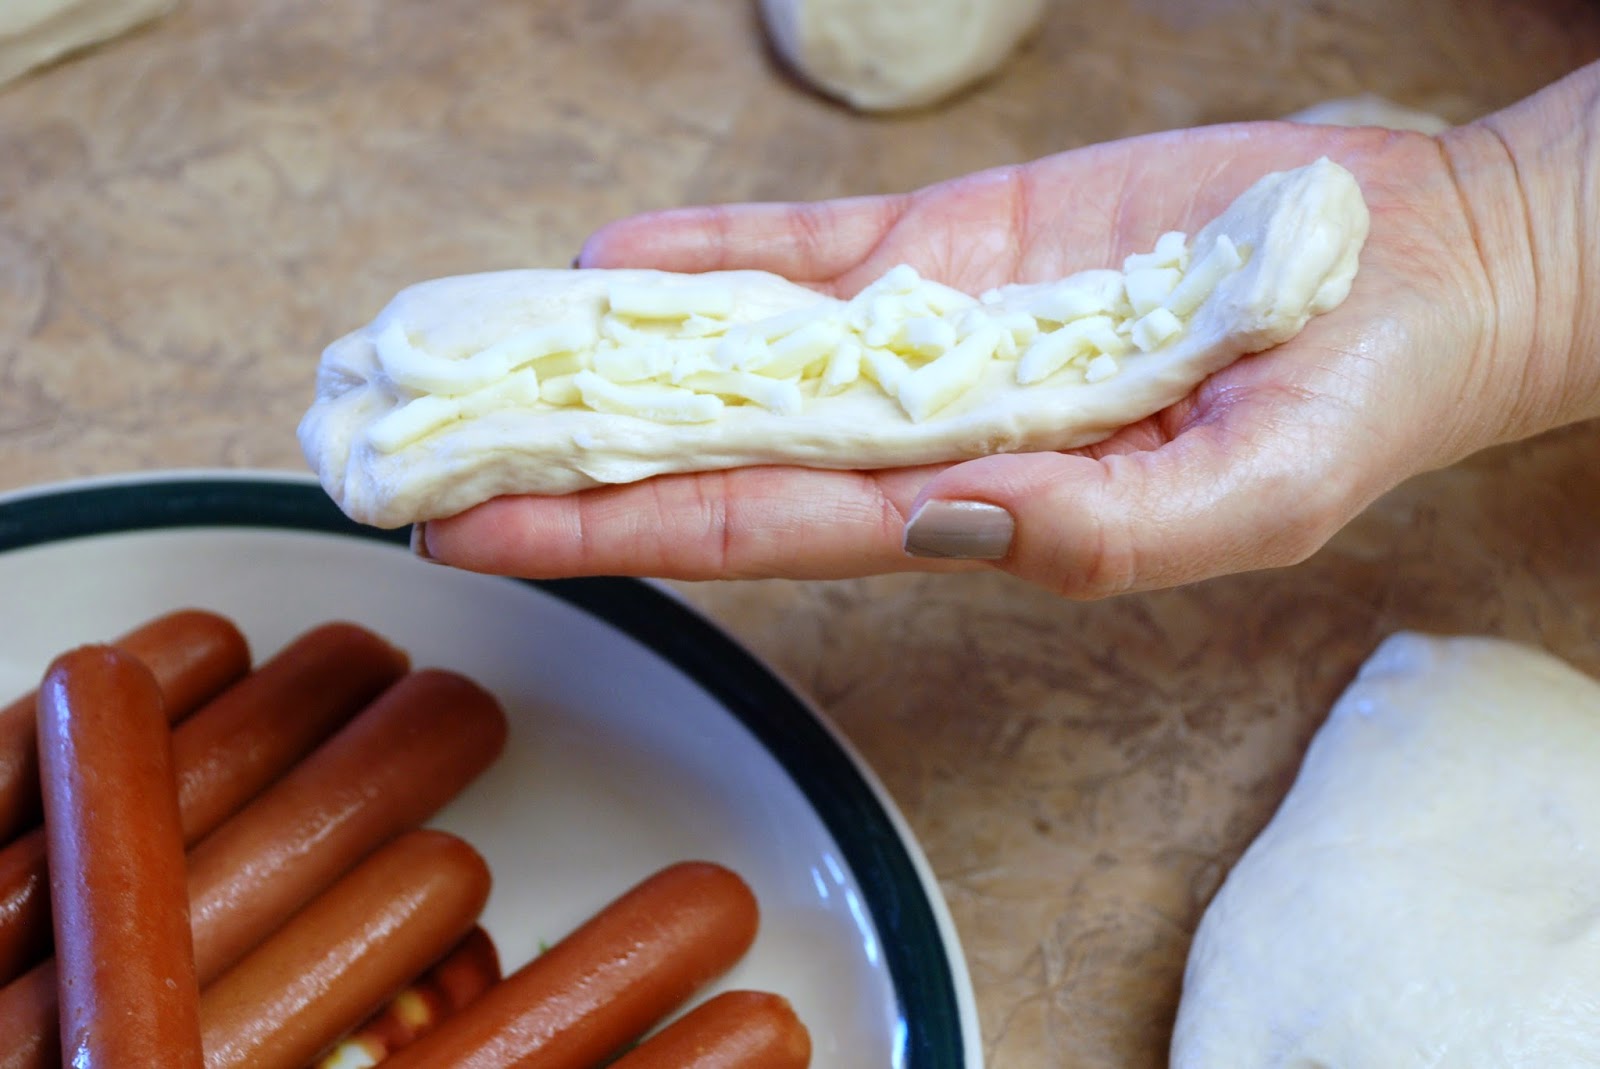
Mozzarella Cheese Can Be Added Right Before You Wrap The Hot Dog


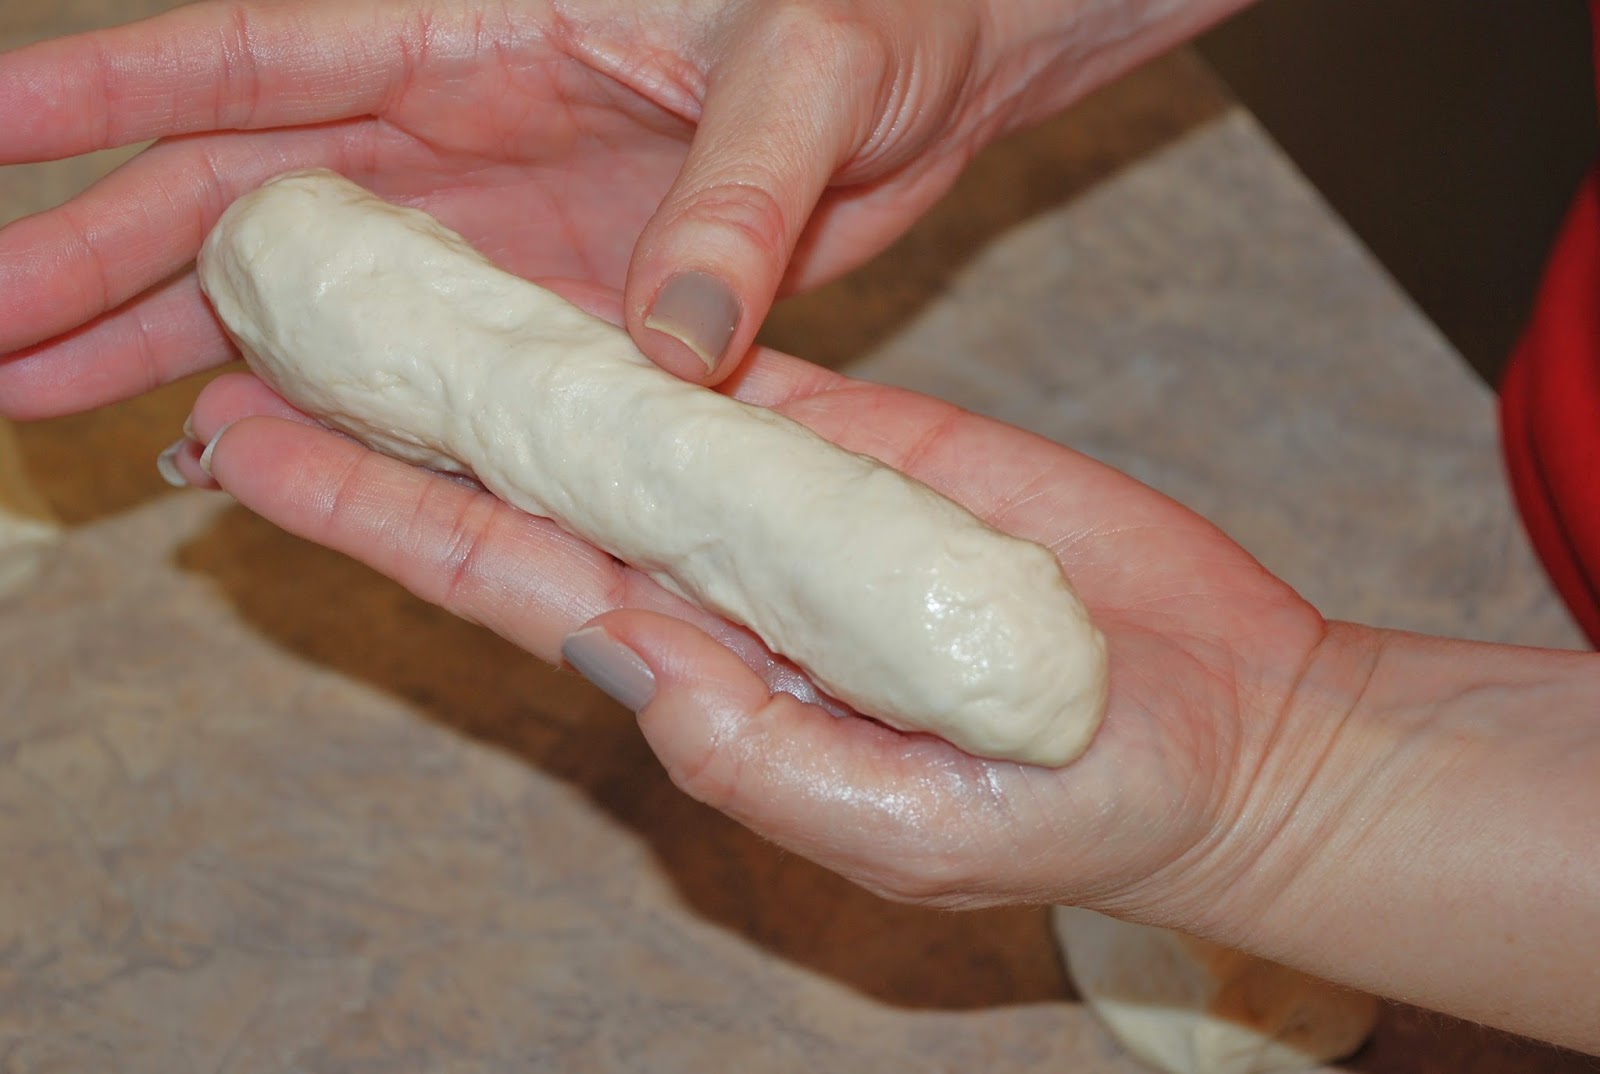
Pinch Dough Around the Hot Dog Until It is Sealed Off


Place on Greased Cookie Sheet about an Inch Apart


Bake in 350 Degree Oven for 20 Minutes or Until Golden Brown

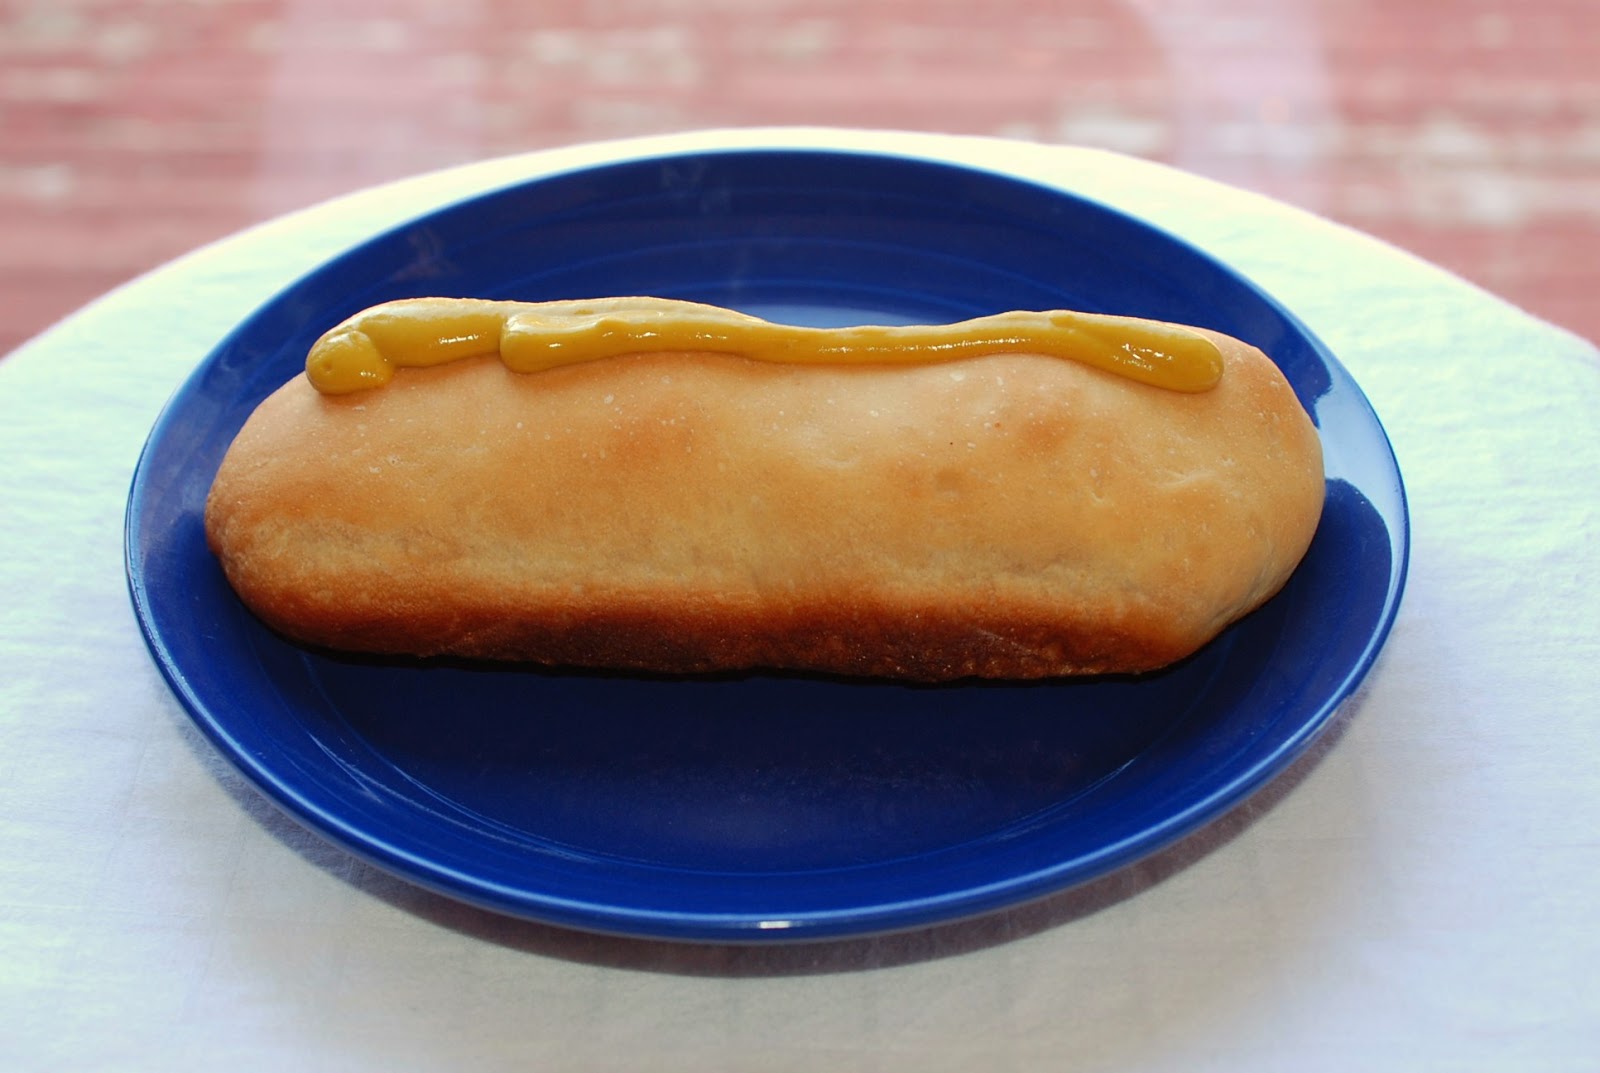
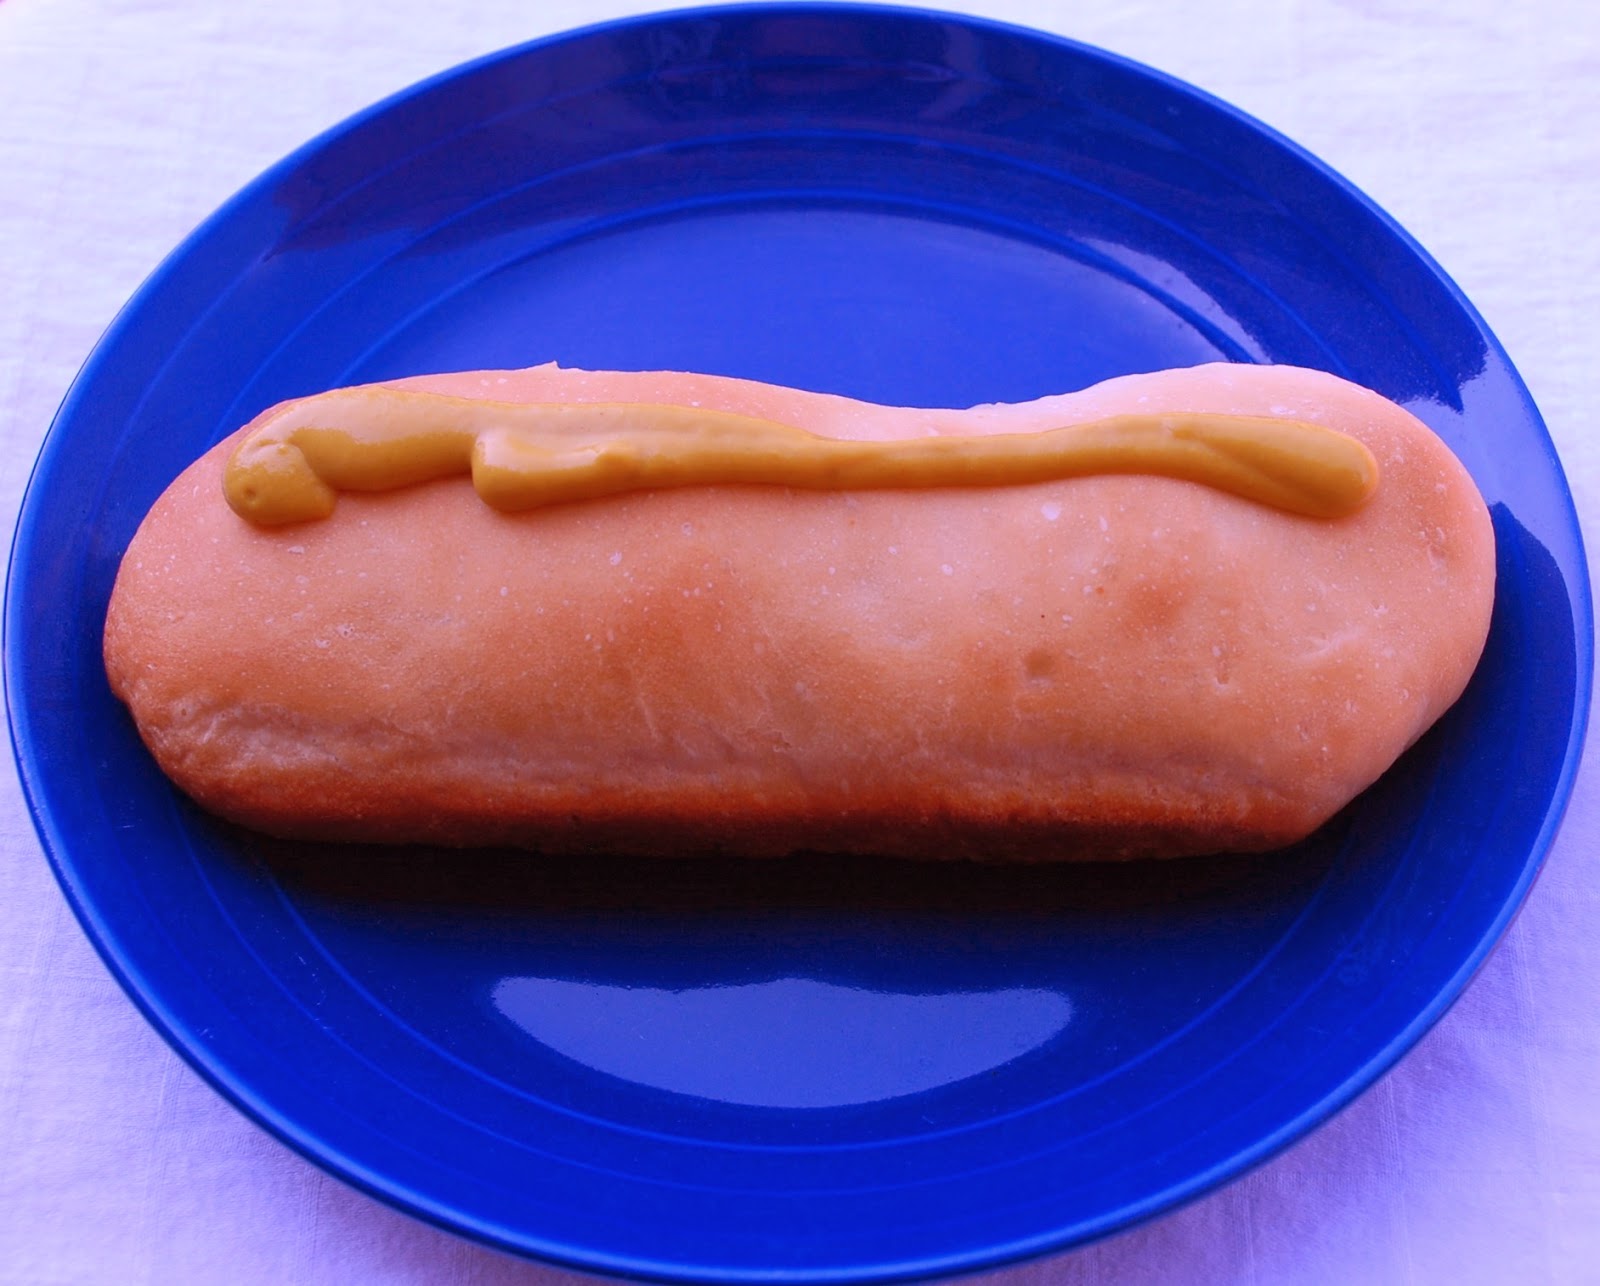
Serve With Your Favorite Condiments

Free Printable Recipe


Friday, April 4, 2014

Don't Follow Me

It Would Really Be Funny
If It Weren't So True


Super Hero

Dealing with Alzheimer's

My mother is struggling with the effects of Alzheimer's.  It is an awful thing to have, but we try and look on the bright side of things as much as we can.  Whenever there is bad news, we can tell it to her once and she usually forgets it anyway.  We can give good news to her over and over again and every time she is excited as if it is the first time she heard it, because sometimes to her, it is.

Seth and Grandma Polly at the Omaha Zoo


Grant and Grandma Polly


Grandma Loves the Zoo


My Mom loves the Giraffes, the only problem is, they are located on the far end of the zoo
and it is quite a hike to get there.
The good thing about Alzheimer's is she forgets how grueling the hike is and just keeps going. 

Amy's Toffee Popcorn Recipe

Amy's Toffee Popcorn Recipe

I know I have a lot of caramel corn recipes on my blog.  The reason is, I love popcorn and each recipe is my favorite for different reasons.  Sometimes I am in the mood for a sticky sweetened condensed milk flavor, that can be made in 5 minutes, but it only has a few hours shelf life.  This one is great if you are having a get together and want something quick and easy.  But sometimes I want a batch of popcorn that has a toffee taste.  This one is not sticky because it is baked.  It takes a lot longer to make, but the shelf life it at least 2 weeks, not that it ever lasts that long around my house.

Whenever I make it, I always double the batch and make some for home and some to give away.

I have another similar recipe for caramel corn.  This one is a toffee recipe.  Some folks might not know there is a difference, but us popcorn lovers do.  It is kind of like when you are picking your Fiddle Faddle.  One is caramel and the other is butter toffee.  There is a difference:)  The recipe is a little bit different but the process of getting to the end result is the same.

Spray a large roasting pan
Pop a lot of popcorn.
I have measurements with the recipe but I personally never use them
I just keep popping until the roaster is 3/4 full
This is enough for a double batch of toffee
Remember to filter out the old maids!

Make sure you cook the toffee in a large sauce pan
It does boil up

When you first start it may look like it is too large, but trust me,
you will be glad for the extra room once you add the baking soda


Pour the toffee over the popcorn and bake

After it is baked, pour out on wax paper to cool

Free Printable Toffee Popcorn Recipe


Thursday, April 3, 2014

Trash To Treasure

Trash to Treasure

I love making fun little craft items that I can give away, but I don't want to spend a lot of money.  Today I decided to see if I could come up with some sort of gift made completely from things I would have thrown away.  I used trash and left over remnants of previous crafts.  I had a can of gold spray paint with only a tiny bit of paint left in it.  Since Easter is close, I filled the jar with little chocolate Easter egg candies, but you could use what ever kind of candy you would like. 


Empty Jar Waiting to Be Recycled


I used scotch tape and tin foil to line the jar.

I only wanted paint to be on the label. 


Bling Ribbon


The Jar After It Was Spray Painted


Finished Project Before I Added Candy

For the Price of a Few Candies
I Ended Up with a Very Fun Gift


Tuesday, April 1, 2014

Monday, March 31, 2014

Huaraz, Peru

Wikahuain Ruins, Huaraz, Peru

Wilkahuain National Monument – is a small Wari ruin located north of Huaraz.  It dates from AD 600 to 900.  It is an imitation of the temple Chavin done.  Wilkahuain means ‘grandson’s house.’  The rooms were originally filled with bundles of mummies.  

Ruins, Peru


Huaraz, Peru with Huascarán Mountain In The Background

My son, Elder Hackleman, sent these pictures to me today from his mission in Huaraz, Peru.  Huaraz is such a beautiful place and the weather is much cooler than in Lima, since the altitude is so much higher.  It rains a lot, but that is what makes everything so green.

My husband and I plan in visiting next year.  It will be fun to actually see all these fabulous places.  Huaraz is one of Peru's top tourist destinations and I can see why.

Friday, March 28, 2014

Eyelashes

DIY Eyelash Extensions


I am all about saving money, but I love the look of eyelash extensions.  I checked into the cost of extensions done at a beauty salon and I was amazed at how much it cost.  I decided to see if I could do my own DIY eyelash extensions.  I talked my 17 year old son into applying them for me.  I bought an eyelash kit form the drugstore for $10.  As it turns out, the glue that comes with the kits is only semi-permanent.  It lasts for 2 to 3 weeks.  I have found some permanent eyelash glue online but I won't use it until I get the hang of the process a little more and I'm sure I want to be that committed to the eyelashes.

I will say, I have really enjoyed the eyelashes.  I hate putting on mascara, although next time around I am not going to do my eyelashes as long.  I want the look to be a bit more subtle.

Over all I was very pleased with the results and plan on continuing adding my false lashes.  This is the best DIY I have done in a long time.

DIY Lip Stain Tutorial

DIY Lip Stain


This lip stain tutorial is so much fun.  You can change the color of your lips just by selecting a different color of Kool-aid.  Keep applying layers of Kool-aid until you get the amount of darkness you prefer.  It lasts for 3 or 4 hours.  I added lip gloss over the top to give it a shiny appearance, then went on a date night out on the town which included dinner and hanging out with friends.  The next morning some of the lip stain had still not faded away, so it really is fairly permanent.

Expert Advice

Expert Advice

Thursday, March 27, 2014