Monday, March 31, 2014

Huaraz, Peru

Wikahuain Ruins, Huaraz, Peru

Wilkahuain National Monument – is a small Wari ruin located north of Huaraz.  It dates from AD 600 to 900.  It is an imitation of the temple Chavin done.  Wilkahuain means ‘grandson’s house.’  The rooms were originally filled with bundles of mummies.  

Ruins, Peru


Huaraz, Peru with HuascarĂ¡n Mountain In The Background

My son, Elder Hackleman, sent these pictures to me today from his mission in Huaraz, Peru.  Huaraz is such a beautiful place and the weather is much cooler than in Lima, since the altitude is so much higher.  It rains a lot, but that is what makes everything so green.

My husband and I plan in visiting next year.  It will be fun to actually see all these fabulous places.  Huaraz is one of Peru's top tourist destinations and I can see why.

Friday, March 28, 2014

Eyelashes

DIY Eyelash Extensions


I am all about saving money, but I love the look of eyelash extensions.  I checked into the cost of extensions done at a beauty salon and I was amazed at how much it cost.  I decided to see if I could do my own DIY eyelash extensions.  I talked my 17 year old son into applying them for me.  I bought an eyelash kit form the drugstore for $10.  As it turns out, the glue that comes with the kits is only semi-permanent.  It lasts for 2 to 3 weeks.  I have found some permanent eyelash glue online but I won't use it until I get the hang of the process a little more and I'm sure I want to be that committed to the eyelashes.

I will say, I have really enjoyed the eyelashes.  I hate putting on mascara, although next time around I am not going to do my eyelashes as long.  I want the look to be a bit more subtle.

Over all I was very pleased with the results and plan on continuing adding my false lashes.  This is the best DIY I have done in a long time.

DIY Lip Stain Tutorial

DIY Lip Stain


This lip stain tutorial is so much fun.  You can change the color of your lips just by selecting a different color of Kool-aid.  Keep applying layers of Kool-aid until you get the amount of darkness you prefer.  It lasts for 3 or 4 hours.  I added lip gloss over the top to give it a shiny appearance, then went on a date night out on the town which included dinner and hanging out with friends.  The next morning some of the lip stain had still not faded away, so it really is fairly permanent.

Expert Advice

Expert Advice

Thursday, March 27, 2014

Wednesday, March 26, 2014

Sidney House Projects

The Wind In Nebraska Took Our Trampoline for A Ride
So We Put it In the Ground

One day while living in Sidney, Nebraska, I found my trampoline across the road hooked on my neighbors truck because the wind had carried it there.  This is when I knew it was time to bury the trampoline.  We didn't want it to cave in, so we decided to make a secure home for it.  We hired a backhoe driver to dig out the hole for us, but we did the rest of the work ourselves.  We used deck grade wood  to build up the interior walls.  We cemented the 8 posts into the ground and then screwed the walls onto the posts.

After the walls were up, we put a weed barrier down and then covered it with rock.  Then we placed the trampoline into the hole.  I can't even begin to tell you how happy we have been with the finished product.  Initially our trampoline had the pad along the edges, but the crazy wind tore it to pieces and as our children got older the need for the pad went away.  I'm sure if we still had very young children we would have replaced it.


It is Nice Because You Can Just Walk Right Onto It


When You Work at Cabela's You Do Crazy Things With Your Bedrooms


I love Stripes, I have a Perfect No Fail Way To Paint Stripes


Stripes Are So Fun

Perfectly painted stripes are not as hard as you think they are.  You just need to do one extra step while painting, and trust me when I tell you, it is worth it.  No matter how good you tape off an area, the paint always seeps through underneath the tape and leaves an uneven looking line.  If you follow these instructions, you will never have that problem again.

After you tape off an area, paint over the line of paint with the same color of paint.  If your wall is white, tape off the area, then paint the edge of the tape with the white paint.  This will enable all the seeping paint to take place with the same color of paint.  Let it dry, then proceed to paint with the other color.  When you remove the tape, the line will be absolutely perfect every time.

If you are painting over a wall that you do not have the original paint color, do not fear, there is a solution.  Tape off the area you want to stripe, and then paint with a clear paint.  This will allow clear paint to seep under the tape and it works just as good.  After it drys, paint your striped color.  Perfection.

I Glued Tissue Paper to the Wall to Give it a Texture, Then Painted Over It
It Looks Like Leather


Quote of the Day - A Little Extra Weight Study


DIY Vinyl Letter Blocks

Vinyl Letter Blocks

This is so easy to do.  The letters are made with vinyl.  Choose your favorite paper with colors that look good together.  We did this project for a Relief Society super Saturday.  We got the paper from Michaels and Oriental Trading.  It is scrap book paper.  The wood is cut from 2 by 4's.

After you cut the 2 by 4's to desired length, lightly sand the rough edges off.  Paint the blocks black.  Craft paint works great because it is cheap and it dries fast.  Cut the paper to fit the blocks.  Glue the paper on the blocks using a light coat of Modge Podge.  Flatten the paper out with a sharp flat object.  A credit card works great.

Add the vinyl letters, then Modge Podge over the entire block.  I used the non-glare Modge Podge for this project.

That's all there is to it!

Monday, March 24, 2014

Stuffed French Toast

Stuffed French-Toast

My friend told me about a great recipe she makes and I tried it out.  It turned out so delicious I knew I needed to share it on my blog.  I used homemade whole grain bread, but you can use any bread.  It really is easy to make as well.  Just slap some cream cheese and raspberry jam on the bread like a sandwich, then dip it in egg mixture and fry it up.  It is so yummy.  We added fresh strawberries and syrup for a perfect breakfast which we actually ate for Sunday dinner.

Feel free to save the recipe on your computer.


Saturday, March 22, 2014

DIY - Thumb Tacks

Very easy to make. Just add paint and glitter, then hot glue a thump tack or a magnet and you have a very cute clothespin to hang you children's prized drawings, grocery lists, wedding announcements, etc. Also a great place to put visiting teaching information.

Kool-Aid Popcorn

I needed a spring colored treat today since it is that time of year. I made my favorite Kool-Aid popcorn recipe. Just imagine all the different flavors of Kool-Aid and then you will know the sky is the limit to the flavors and colors you can have with a very simple recipe. Wish you could have a taste right now:)

Tuesday, March 18, 2014

Delicious Waffles

I know you might be thinking making waffles from scratch is too time consuming and hard.  The truth is, they are easy to make.  In fact I always make a double batch, cook them up and freeze whatever we don't eat in a freezer bag.  You can cook the waffles up quickly in the morning either in the microwave oven or the toaster oven.  Now that is the way to save time and money.  Yeah!

Mix the Eggs Until They Are Fluffy

Add All the Other Ingredients

Except One Cup of Milk and The Baking Powder


Mix Completely Until Smooth


Add The Last Cup of Milk and The Baking Powder


Let Mixture Rest While Heating Up The Waffle Iron

Free Recipe 


Wonder-Woman


Pinterest Needs An Eye Roll Button


How to Host A Party for 13 Year Old Boys


Air-soft Gun Wars in the Back Yard

Hosting a birthday party for a 13 year old boy is not an easy task.  Figuring out what will be fun but not childish was a real challenge.  We discussed different options and none of them seemed to be a good option.  My son first thought about inviting 12 of his friends to go to the movie and out for pizza.  This isn't exactly an exciting option and it can end up costing an arm and a leg.  He then decided going to a local indoor trampoline fun house sounded fun.  Again, the cost can really end up being steep and it doesn't always turn out to be that fun anyway.  You are lumped in with lots of other folks.

What to do, what to do?  My son Grant had been saving his money for quite some time to buy a new air-soft gun.  Finally it hit me.  Most of Grant's friends also had air-soft guns.  We could host a birthday/air-soft gun party.  We have a large fenced in back yard so they could play the games there.  The only problem is, there wouldn't be anywhere for safety or places to hide.  This is when my creativity started coming out.  Grant and I decided to build bases and forts out of free pallets.  We also found an old dump pile with some thrown out siding.  We had some paint we were not using in the garage, so we put all our free products together to create a fabulous birthday extravaganza.  

Grant painting some old siding we found in a dump pile.
We nailed the siding to some pallets

Siding and Cardboard Were Both Used
Staple or Nail to the Pallets
Drive Stakes in the Ground with Half of the Stake Extending Above Ground
Place the Pallets Over the Stakes to Hold Them Upright

Make Sure Everyone Playing Air-Soft Has Goggles or Glasses
Pick Up Extra Pairs of Sunglasses at The Dollar Store To Have On Hand
Place Two Different Colors of Bandannas in a Bag
Each Person Draws A Bandanna Out of the Bag to Determine Teams

Do Not Leave the Boys to Their Own Devices
Organized Games Work the Best
We Had Two 18 Year Old Boys Wearing Whistles Who
Worked as Referees and Game Coordinators

I Made Homemade Pizza and Camouflage Cupcakes
I Also Provided Plenty of Drinks and Popcorn

I Have Never Seen 13 Year Old Boys Have So Much Fun
I Over Heard a Couple of The Boys Talking
They Said It Was The Funnest Birthday Party They Had Ever Been To

Provide Target Shooting Games, Capture the Flag, Ender's Game, Etc.

How to Host An Air-Soft War-Birthday Party
For 12 Teenage Boys
For Under $100.00


Free Invitation Template

Save To Your Computer and Print


Rules To Think About When Taking a Selfie

Rules for Taking a Selfie


Wednesday, March 12, 2014

Waffle Iron Cinnamon Rolls

I love Cinnamon Rolls!

Add Melted Butter


Sprinkle Cinnamon Over Dough Add Sugar


Roll Dough/Cut in Pieces


Cook Cinnamon Rolls In Waffle Iron


Copy and Save Image To Computer to Print


Basic Dough

I use this dough recipe to make just about everything.  Bread, pizza, rolls, bread sticks, etc.  Just add a little more flour if you are making bread, less flour for rolls.  Remember, the stickier the dough the lighter the roll.

3 cupts of very hot water as hot as you can from your tap


Add on Tablespoon of Yeast
I buy my yeast in bulk from Sam's Club


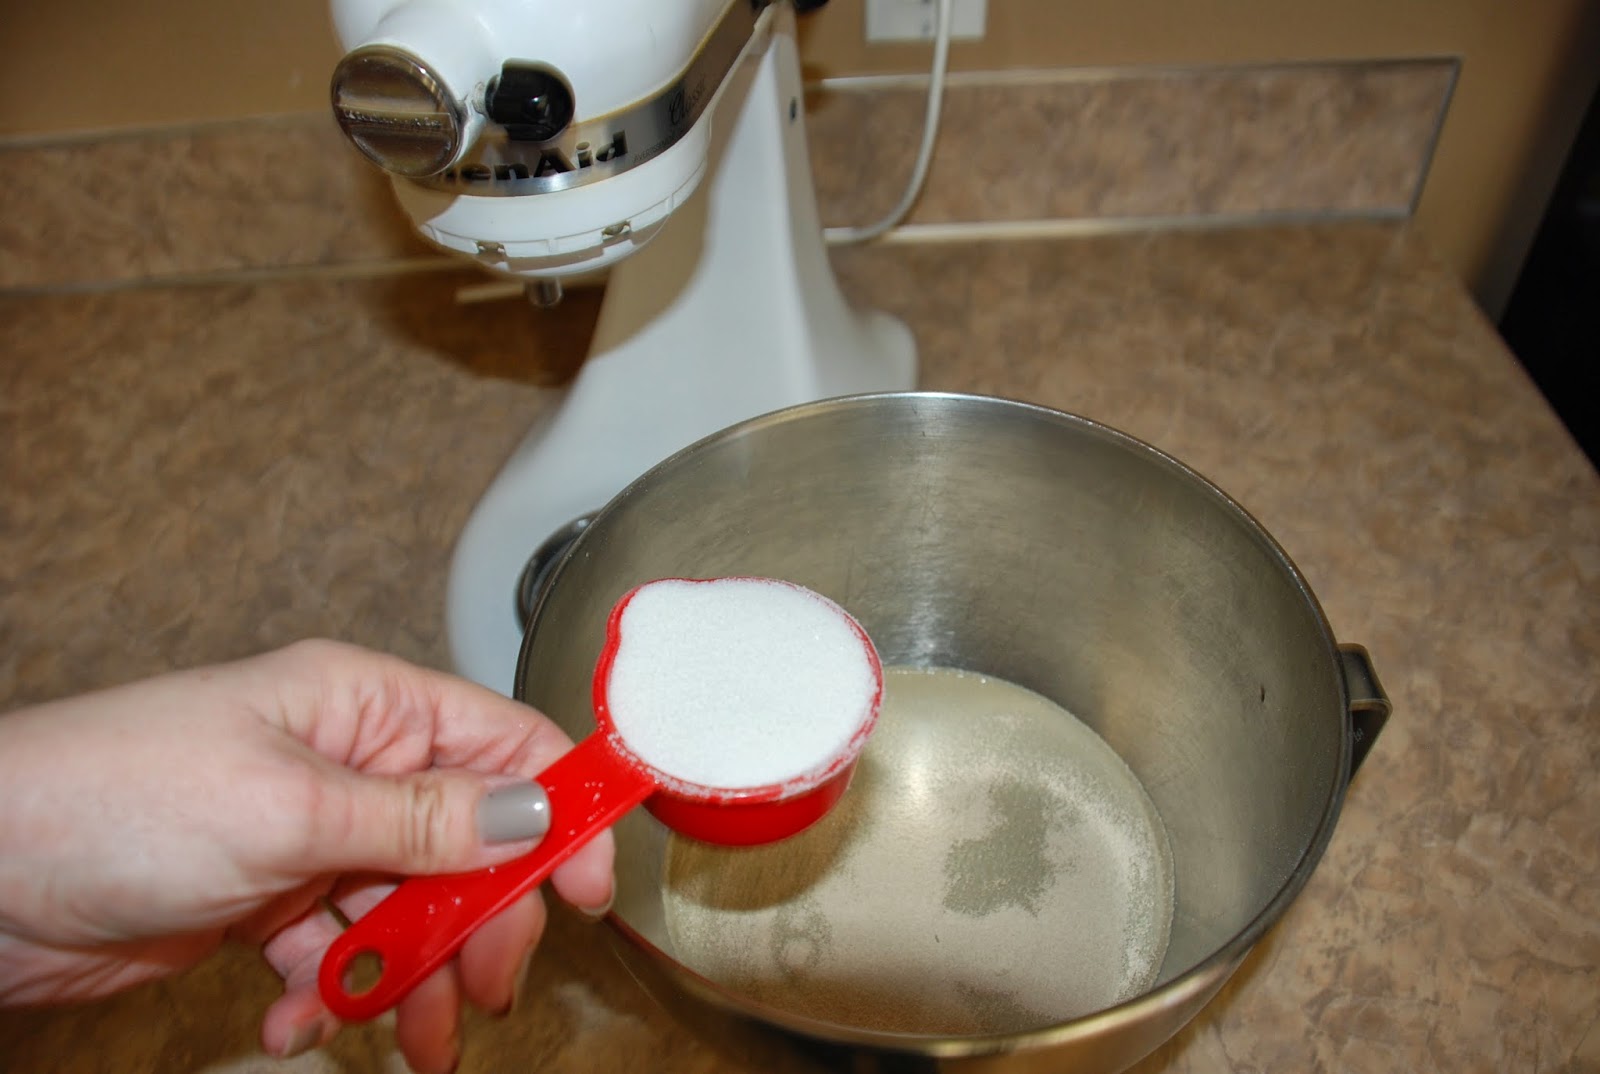
Add 1/3 cup of Sugar.  Sugar makes the yeast happy.


Add 1/3 Cup of Oil.  The yeast doesn't mind company.


No Reason to wait, go ahead and add 1 teaspoon of salt


I don't take time for the yeast to think about things.  I move right along to the next step. Start adding flour.  I never measure the flour, I just add and start mixing until the dough is the consistency I want.


Remember the stickier the dough the lighter the roll.  If you are making bread, add more flour.  Let the Kitchen aid mix for at least 10 minutes.  Continue adding flour every once in a while until the dough clings to the sides of the bowl.

Spray the counter so the dough doesn't stick.

No reason to add more flour so spray grease is a much better option for working with the dough.

Save Image to Your Computer to Print