Showing posts with label delicious recipes. Show all posts

Monday, March 24, 2014

Stuffed French Toast

Stuffed French-Toast

My friend told me about a great recipe she makes and I tried it out.  It turned out so delicious I knew I needed to share it on my blog.  I used homemade whole grain bread, but you can use any bread.  It really is easy to make as well.  Just slap some cream cheese and raspberry jam on the bread like a sandwich, then dip it in egg mixture and fry it up.  It is so yummy.  We added fresh strawberries and syrup for a perfect breakfast which we actually ate for Sunday dinner.

Feel free to save the recipe on your computer.


Saturday, March 22, 2014

Kool-Aid Popcorn

I needed a spring colored treat today since it is that time of year. I made my favorite Kool-Aid popcorn recipe. Just imagine all the different flavors of Kool-Aid and then you will know the sky is the limit to the flavors and colors you can have with a very simple recipe. Wish you could have a taste right now:)

Tuesday, March 18, 2014

Delicious Waffles

I know you might be thinking making waffles from scratch is too time consuming and hard.  The truth is, they are easy to make.  In fact I always make a double batch, cook them up and freeze whatever we don't eat in a freezer bag.  You can cook the waffles up quickly in the morning either in the microwave oven or the toaster oven.  Now that is the way to save time and money.  Yeah!

Mix the Eggs Until They Are Fluffy

Add All the Other Ingredients

Except One Cup of Milk and The Baking Powder


Mix Completely Until Smooth


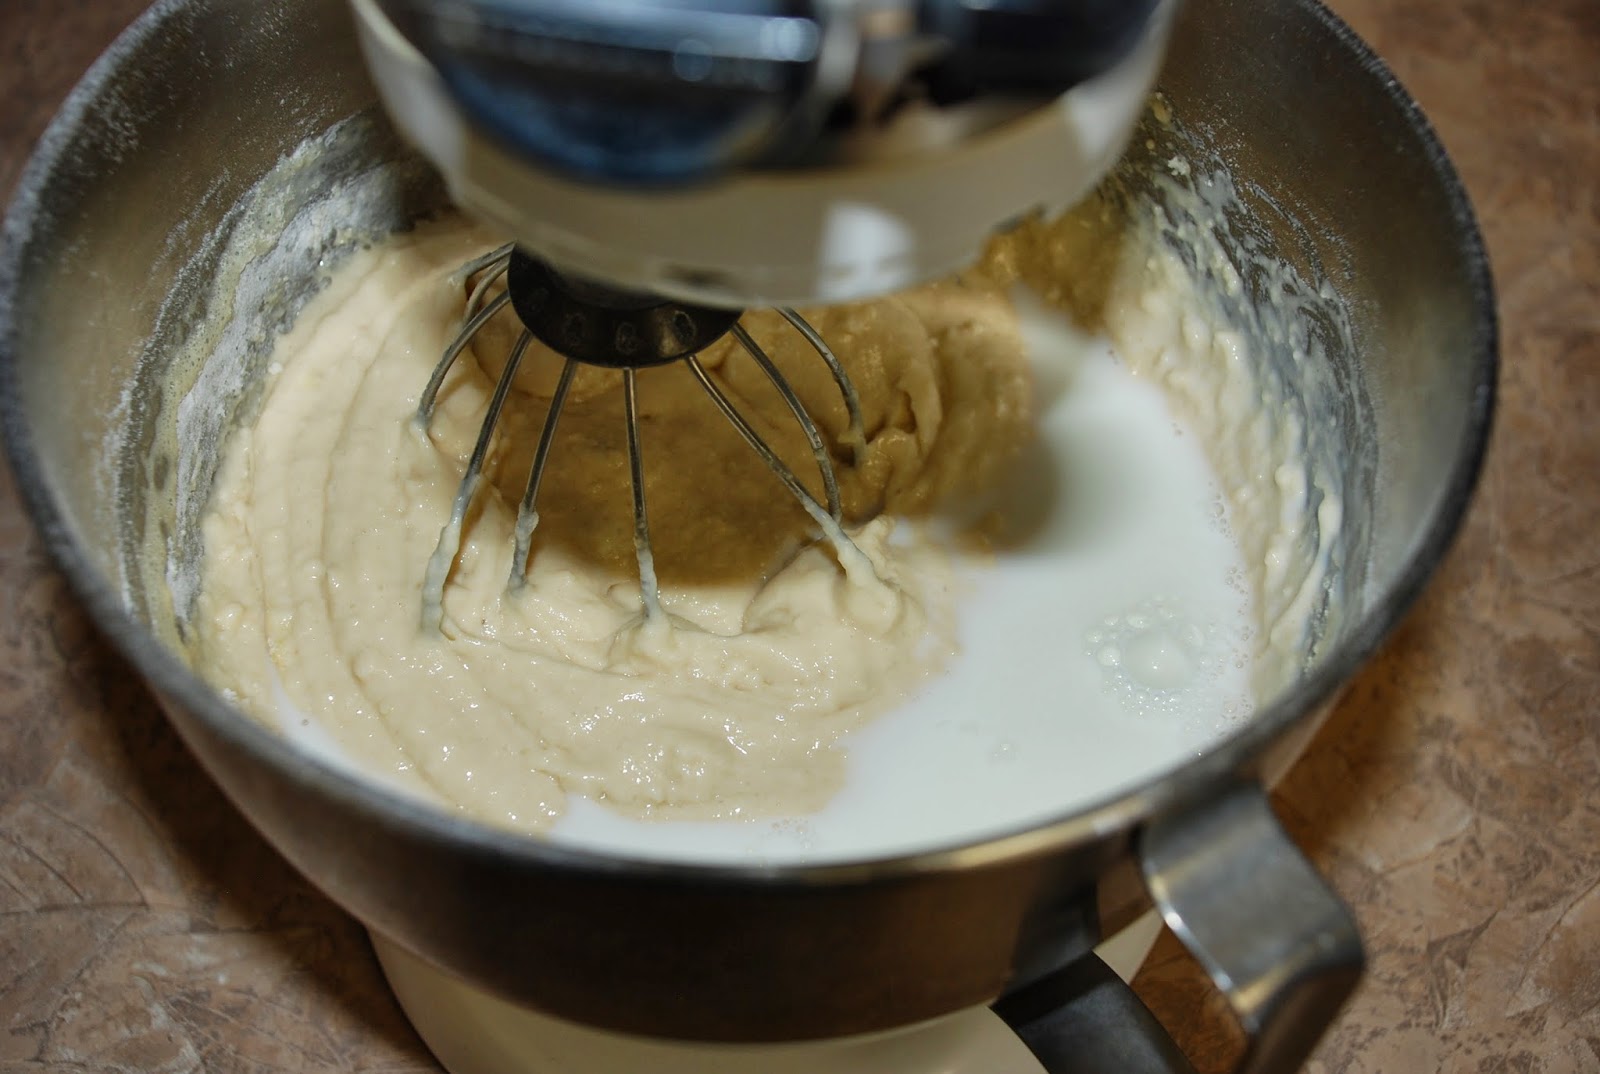
Add The Last Cup of Milk and The Baking Powder


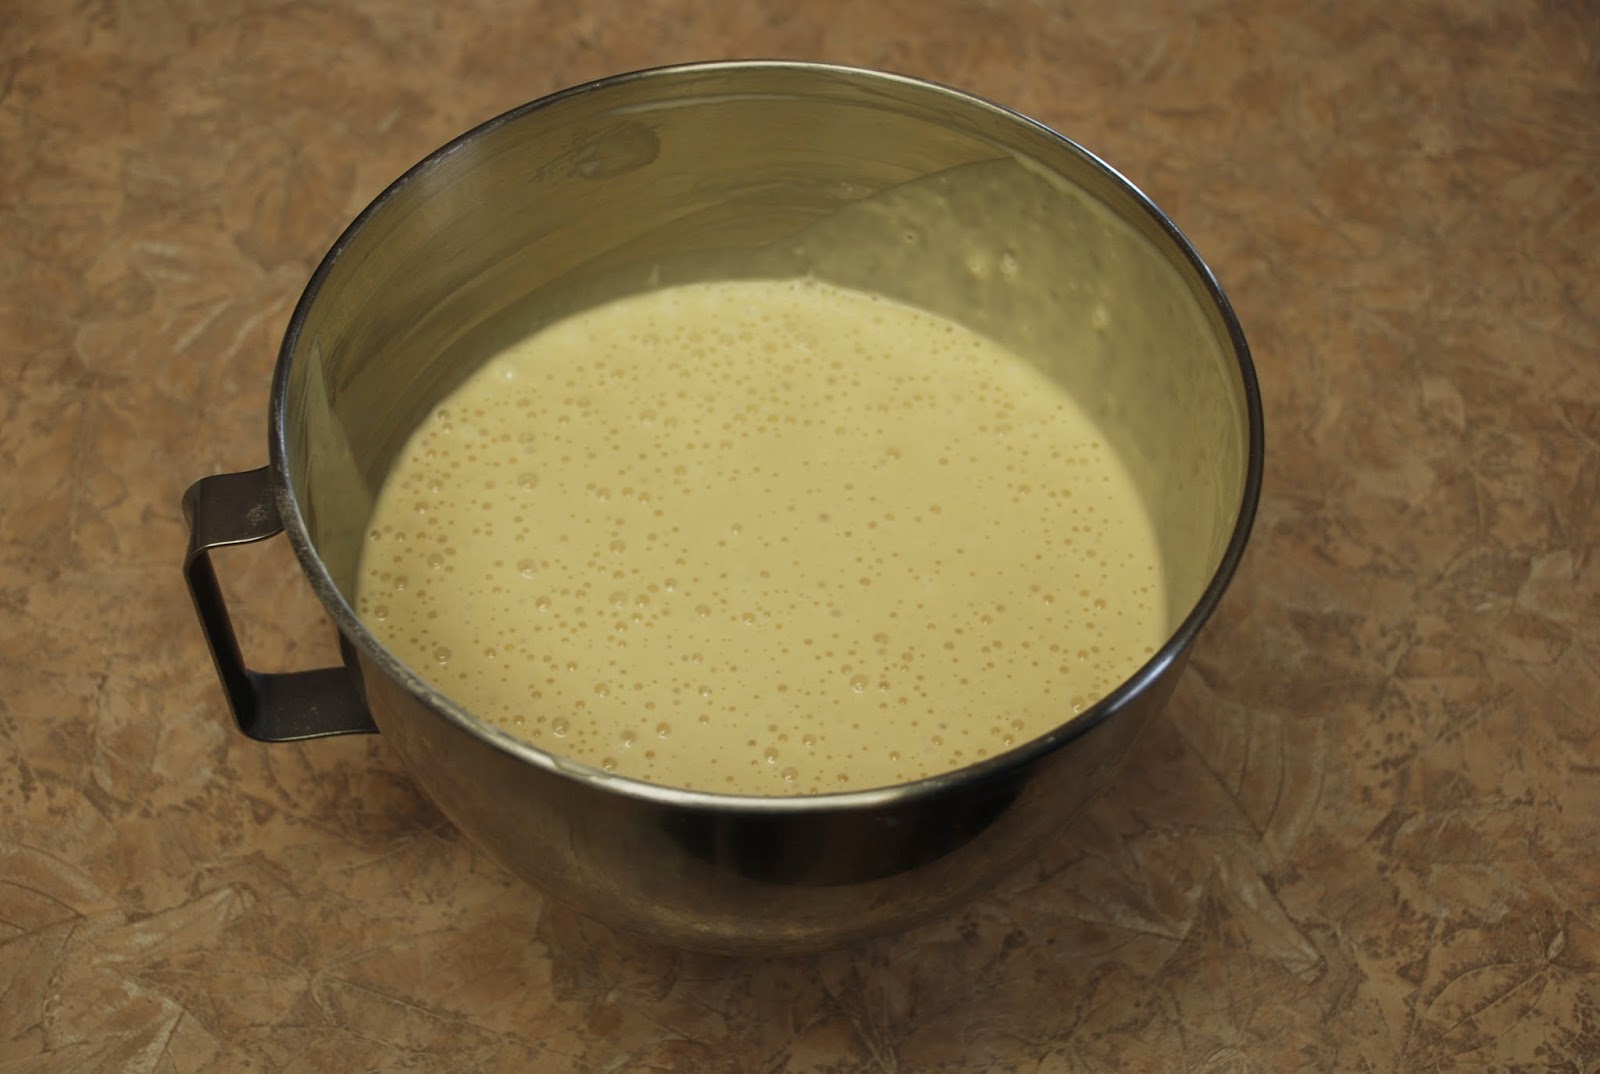
Let Mixture Rest While Heating Up The Waffle Iron
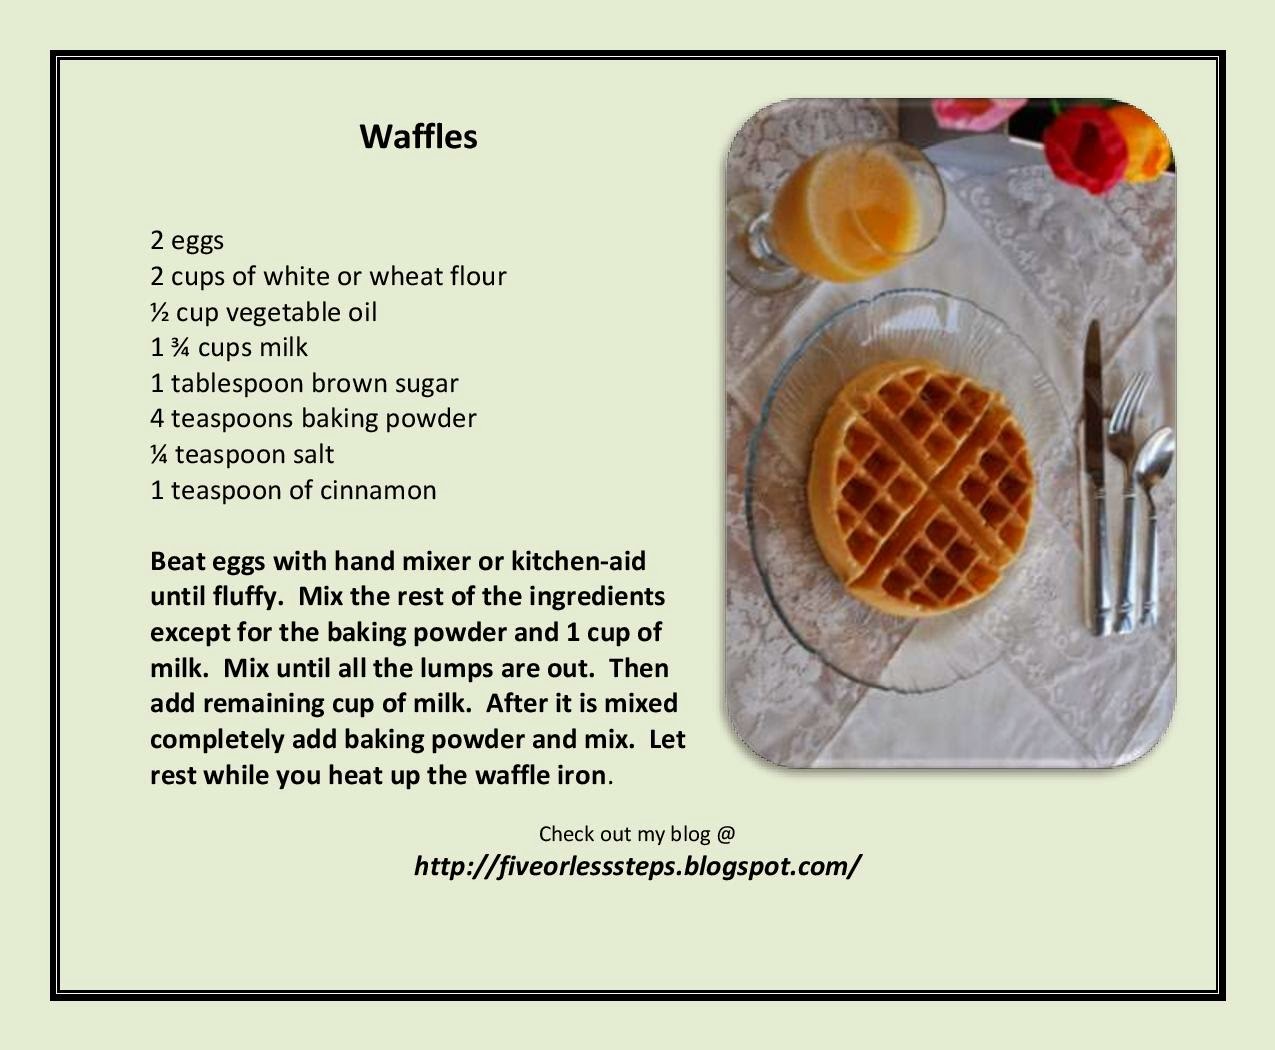
Free Recipe 


Wednesday, March 12, 2014

Waffle Iron Cinnamon Rolls

I love Cinnamon Rolls!

Add Melted Butter


Sprinkle Cinnamon Over Dough Add Sugar


Roll Dough/Cut in Pieces


Cook Cinnamon Rolls In Waffle Iron


Copy and Save Image To Computer to Print


Basic Dough

I use this dough recipe to make just about everything.  Bread, pizza, rolls, bread sticks, etc.  Just add a little more flour if you are making bread, less flour for rolls.  Remember, the stickier the dough the lighter the roll.

3 cupts of very hot water as hot as you can from your tap


Add on Tablespoon of Yeast
I buy my yeast in bulk from Sam's Club


Add 1/3 cup of Sugar.  Sugar makes the yeast happy.


Add 1/3 Cup of Oil.  The yeast doesn't mind company.


No Reason to wait, go ahead and add 1 teaspoon of salt


I don't take time for the yeast to think about things.  I move right along to the next step. Start adding flour.  I never measure the flour, I just add and start mixing until the dough is the consistency I want.


Remember the stickier the dough the lighter the roll.  If you are making bread, add more flour.  Let the Kitchen aid mix for at least 10 minutes.  Continue adding flour every once in a while until the dough clings to the sides of the bowl.

Spray the counter so the dough doesn't stick.

No reason to add more flour so spray grease is a much better option for working with the dough.

Save Image to Your Computer to Print


Waffle Pizza

Spray Waffle Iron


Spray Counter Before Putting Basic Roll Dough On It

Roll Out Dough

Cook Dough In Waffle Iron


Add Spaghetti Sauce and Meat

Add Cheese and Microwave Long Enough To Melt Cheese

Pizza Ready to Eat In Under 10 Minutes

Save Image to Computer to Print


5 Foods To Cook In Your Waffle Iron

The Delicious Waffle


Waffle Pizza


Waffle Cinnamon Roll


Waffle Rolls


Waffle Grilled Cheese


Monday, March 3, 2014

How To Cook A Roast

Roast Cooked in a Crockpot


1. Searing meat caramelizes the sugars and browns the proteins present in meat, resulting in more appealing color and flavor. For best results:
a.) Pull the meat from the fridge and set it out at room temperature for a short while before cooking it. This lets the meat relax, allowing the meat's natural moisture to reabsorb into the muscle, rather than staying trapped between the meat's fibers.
b.) Make sure the pan that will be used for searing is hot, hot, hot!

    2. We're using a pork roast, but you can sear all types and cuts of meat. Season it with salt (and pepper, if desired). The seasoning will stick to the moist surface of the meat and as it cooks it will form a flavorful seared crust.
    • If your meat has been brined or marinated, don't add extra salt.
    • Use care if the marinade was sweet or sugary: the added sugars can burn quickly in the hot pan.

      3. Depending on the amount of fat in the meat, you might not need to add fat to the pan.
      • If you're searing a lean cut--pork tenderloin or chops, chicken, lean beef--add about two tablespoons of vegetable or peanut oil to the pan. (Olive oil and butter have too low of a smoke point.)
      • Turn the heat up to high and watch for the oil to ripple. When the oil ripples, add the meat.
      • Place roasts in the pan fattiest-side down; add chicken pieces skin-side down. Take care: the hot oil will sputter and spit.

        4. If the pan is too cool when you add the meat, it can stick and tear when you try to turn it. Let the meat sear for a few minutes (longer for roasts, shorter for cubed meat or steaks) before flipping it over. Seared meats leave flavorful pan drippings known as fond, which can later be used to make gravy by "deglazing" the pan.

          5. Once the meat starts to color, it browns quickly, so pay attention! When one side is seared, turn the meat over.

            6. Round roasts tend to roll over rather than stay put. Try to lean the meat against the edge of the pan to support it while you brown each part.

              7. To sear the ends of a roast, use extra care: if the meat tips over, it can splatter hot grease over the stove and the cook. Use tongs to hold it up, if necessary.

                8. Even though the outside of the meat is beautifully browned, the inside may still be raw. Finish cooking your meat by roasting it in the oven, adding it to your slow cooker, or simmering it on the stove.


                Save Image to Computer to Print Recipe